
The order you set things up in Korea matters more than what you set up. Most problems in the first 3 days Korea foreigners face aren’t caused by missing information — they’re caused by doing things out of sequence. Buy the wrong SIM type at the airport, and your bank visit the next day fails. Skip address registration, and the ARC appointment produces a receipt that doesn’t unlock anything for weeks.
Korea’s administrative systems run on dependencies. Each step assumes the previous one is already complete. No one explains this at immigration, and most arrival guides just hand you a flat checklist — SIM, bank, ARC — as if the order doesn’t matter. It does. Getting the sequence wrong doesn’t just slow you down. It sends you back to step one while the clock keeps running.
This article maps the correct setup sequence for the first 3 days Korea foreigners actually need to follow, step by step, with the dependency logic behind each move. If you’ve already started and something is stuck, the chain diagram below will show you where the block is.
Why Getting the Sequence Right Changes Everything
Korea’s administrative infrastructure is sequential by design. Each system checks whether the previous layer is in place before letting you through. A bank teller can’t verify your address if you haven’t registered it yet. An app can’t confirm your identity if your SIM isn’t tied to a resident record. The systems aren’t broken — they just assume you already know the order.
This catches most new arrivals off guard because back home, these tasks are usually independent. You can open a bank account without registering an address first. You can download an app and verify your phone number with any carrier. In Korea, those same tasks are linked — and the links run in one direction only.
The difference shows up fast. Someone who follows the right order on day one is usually set up by day three. Someone who starts with the bank visit or jumps straight to app verification often spends the entire first week circling back to earlier steps. That gap between a smooth arrival and a frustrating one is exactly what the first 3 days Korea foreigners experience comes down to — not effort, but sequence.
The Setup Chain: What Blocks What
Before walking through each day, here’s the structure underneath. This is the chain that determines how the first 3 days Korea foreigners go through actually unfold. Every step below depends on the one above it. Skipping ahead doesn’t save time — it creates a rejection loop that sends you back.
Korea Setup Dependency Chain
① Entry Status & Visa Type
↓
② Phone Number Type (Tourist SIM vs Resident SIM)
↓
③ Address Registration (주민센터)
↓
④ ARC Application & Issuance Status
↓
⑤ Bank Account (Type & Access Level)
↓
⑥ App Verification & Online Services
Each step unlocks or blocks the one below it. Skipping ahead doesn’t speed things up — it creates a rejection loop.
Your entry status determines whether you can apply for an ARC at all, and that shapes every step downstream. The short-term vs long-term stay comparison covers where this decision point sits.
Your phone number type determines which verification systems accept you. A tourist SIM, a postpaid contract SIM, and a foreigner-registered resident SIM produce completely different results when apps check your identity. The phone verification failure guide maps which platforms accept which SIM types.
From there, address registration unlocks banking. Banking unlocks payroll and rent transfers. And a qualifying phone number unlocks app-level services like KakaoTalk, PASS, and delivery platforms. Miss one layer and everything above it stalls.
Step 1 — Airport to Accommodation (Day 0–1)
The first few hours after landing at Incheon Airport (인천공항) set the foundation for everything that follows. Of the first 3 days Korea foreigners navigate, this part is the easiest — three things need to happen before you leave the airport area, and none of them depend on your ARC status.
Pick up a temporary SIM. Airport SIM counters sell tourist SIMs (여행자 유심) with data and a Korean phone number. This number won’t pass real-name verification (본인인증) on most Korean apps — but it gives you working data and a number you can receive calls on. Don’t commit to a full postpaid plan yet. You’ll upgrade later once your ARC status is clearer. The Korean SIM card guide covers which types actually clear verification and which just give you data.
Get a T-money card (티머니 카드). Available at convenience stores inside and outside the airport for ₩2,500–₩4,000. Load it with cash and it works immediately on buses, subways, and taxis nationwide. No ID, no verification, no app required. This is the single most useful purchase on day zero. The T-money card Korea guide explains where it works and where it doesn’t.
Sort out your transportation to accommodation — AREX (공항철도) to Seoul Station or a limousine bus to your area. Both accept T-money. The airport transportation guide covers which option fits which destination.
That’s day zero. SIM for data, T-money for transit, and transport to your housing. Everything else waits until tomorrow.
Step 2 — SIM and Address Before the Bank (Day 1)
Day one is where the sequence starts to matter. This is the single biggest fork in the road during the first 3 days Korea foreigners encounter. Two tasks need to happen before you visit the bank, and doing them in the wrong order is the most common first-week mistake.
Confirm your housing address and get documentation. If you’re in a goshiwon (고시원), ask for a receipt or confirmation letter showing your room assignment and the building address. If you’re in a short-term rental, confirm that the address is registrable — some Airbnb-type stays don’t qualify. The temporary housing guide covers which types of accommodation provide valid documentation for address registration.
Register your address at the community center (주민센터). This is the step most people postpone — and it’s exactly the one that blocks the bank visit. Take your passport, housing documentation, and any visa paperwork to your local community center. Address registration (전입신고) doesn’t require an ARC. It can be done the same day you move in. The address registration guide details what the counter staff actually checks and which documents cause rejections.
One thing worth knowing: Korea uses two address formats — a road name address (도로명주소) and a lot number address (지번주소). Different forms ask for different formats, and many foreigners don’t realize until they’re standing at a counter with the wrong one written down. The Korean address system guide explains which format goes where.
If you’re on a long-term visa and plan to upgrade from a tourist SIM to a resident contract, this is also the day to handle that — after address registration. Some carriers require a registered address before issuing a postpaid plan to foreigners.
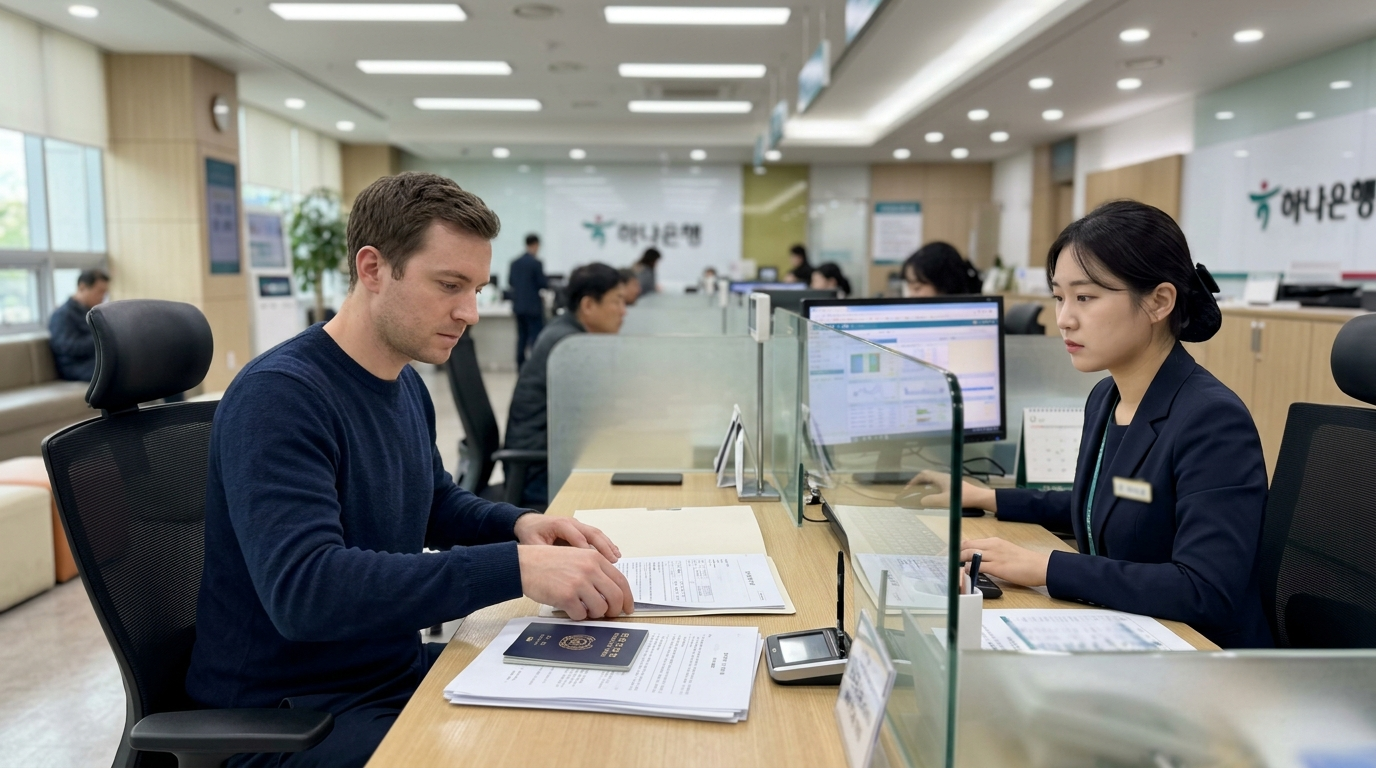
Step 3 — Bank Visit With the Right Stack (Day 1–2)
With address registration done, the bank visit becomes possible. This is typically the most document-heavy step in the first 3 days Korea foreigners go through. Without address registration, you’re likely walking into a partial result — a restricted account that can’t handle international transfers or payroll deposits.
Bring your passport, your address registration receipt, any visa documentation, and — if you have one — your employment contract or university enrollment letter. Korean banks assess foreigners case by case, and having the full stack of documents at the first visit prevents the “come back with more paperwork” loop that eats another half-day.
Not all branches handle foreigner accounts the same way. Some smaller branches defer to the main branch for non-Korean clients. Before heading out, check whether your target branch has handled foreigner accounts recently. The bank account Korea foreigner guide maps which banks are most accessible for first-visit foreigners and what usually stalls the process at the counter.
There’s a critical detail here. Korea’s immigration and banking systems don’t communicate in real time. The bank teller cannot look up your ARC application status. They only see the documents in front of them. Saying “I applied for ARC last week” doesn’t change what the teller can process — it’s the immigration receipt (외국인등록 접수증) that substitutes during the waiting period, and only at banks that accept it.
If you’re on a tourist visa (90-day waiver), a full resident bank account isn’t available. Some banks will open a basic account (제한 계좌) with passport only, but the limitations are significant. The payment failure guide covers where foreign cards still work and where Korean payment methods become necessary.
Step 4 — ARC Appointment and the Waiting Period (Day 2–3)
If you’re on a long-term visa (E-2, D-10, F-series, etc.), the ARC (Alien Registration Card, 외국인등록증) application is the next step after your bank visit. Book the appointment at Hi Korea (hikorea.go.kr) — walk-ins aren’t always accepted, and some immigration offices (출입국관리사무소) require advance reservations during busy periods.
Here’s where most people misjudge the timeline: applying for ARC is not the same as having one. The physical card takes 2 to 4 weeks after your appointment. During that gap, many online services reject you because the ARC number isn’t yet active in the immigration database. This is the point in the first 3 days Korea foreigners discover that having a receipt isn’t the same as having a card — and the systems know the difference.
The ARC card Korea foreigners guide covers what still fails even after approval, and the ARC delay breakdown shows which services accept a pending receipt and which genuinely require the physical card. This is also where the online verification rejection guide becomes relevant — many platforms run ARC number verification as a hard gate.
During the waiting period, focus on what you can do without the card: familiarize yourself with local transit routes using Naver Map or Kakao Map (Google Maps is unreliable for Korean transit), stock up on basics at convenience stores where cash works without verification, and get oriented in your neighborhood.
Step 5 — App Setup After Your Number Clears (Day 2–3)
App verification is where the first 3 days Korea foreigners invest either pays off or collapses entirely.
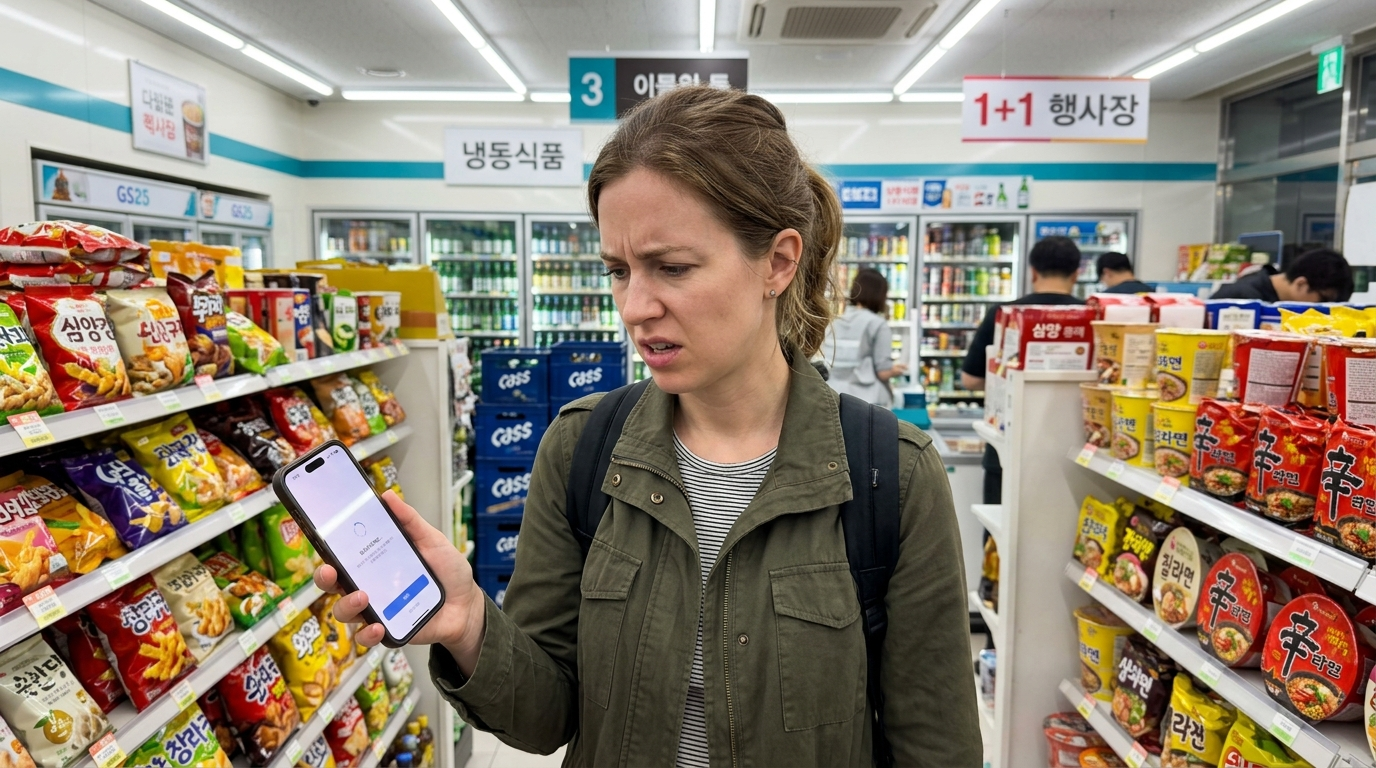
KakaoTalk (카카오톡), PASS (패스 앱), banking apps, delivery platforms — all of them run SMS-based real-name verification tied to Korean telecom records. If your SIM type doesn’t meet the platform’s verification threshold, the app loops you back to the start screen with no clear error message. Many people try four or five times before realizing the block is at the SIM level, not the app itself.
This is why Steps 1 and 2 matter so much. The SIM you chose at the airport and whether you upgraded to a resident-level plan after address registration determine what happens here. A tourist SIM gives you data and calls but fails real-name verification on almost every Korean platform that matters. The KakaoTalk verification guide and the PASS app failure guide cover the actual unlock path by SIM type.
If you need to order online before your apps are verified, Coupang checkout has its own set of traps for foreigners — and foreign card payments fail at specific points that aren’t obvious from the error message.
If you need a taxi and Kakao T isn’t working yet, the Kakao T registration guide maps the five walls that block foreigners during signup.
Where the Sequence Usually Breaks
These show up every week in expat communities. Among the first 3 days Korea foreigners report about, three patterns repeat constantly.
Bank before address. This is the most common break point. The person arrives, sees a bank, walks in with a passport, and either gets turned away or receives a restricted account. They then discover address registration was supposed to come first — but now they’ve already used their “first visit” impression at that branch, and going back with new documents means starting the paperwork over.
The second pattern is treating a tourist SIM as the final setup. The number works for calls and texts. Everything seems fine until the person tries to verify KakaoTalk, open a banking app, or register for delivery. Each one fails silently. By day three, the person has a working phone that can’t access any of the services that actually matter for daily life in Korea.
Assuming ARC application equals ARC access. Filing the application at immigration feels like a milestone — and it is. But the systems don’t treat “applied” and “issued” the same way. The 2–4 week gap between application and card delivery is a dead zone where many services simply reject you. Among the first 3 days Korea foreigners plan around, this assumption causes the longest delays — planning around ARC-level access before the card arrives is how people end up stuck with workarounds for weeks instead of days.
First 3 Days Korea Foreigners — Short-Term vs Long-Term Paths
The first 3 days Korea foreigners spend setting up look completely different depending on your visa situation.
Under 90 days (visa waiver, 무비자 입국): You’re not eligible for an ARC. Your setup stays lightweight — tourist SIM for data, T-money for transit, cash or foreign card for payments. The goal isn’t building a full resident infrastructure. It’s identifying which specific services you actually need and finding the tourist-path workaround for each. Most daily needs can be handled through convenience stores and cash without any Korean verification.
Long-term (work, study, or family visa): The full sequence applies — airport SIM → housing → address registration → bank → ARC appointment → SIM upgrade → app setup. The dependency order doesn’t change by visa type, but the timing does. E-2 visa holders sponsored by a school may have housing pre-arranged. D-10 job seekers may need temporary housing first. F-series visa holders sometimes have a Korean family member who can simplify the bank step.
If your situation doesn’t fit either track cleanly, the ARC complete guide maps exceptions and alternative paths by visa category.
Setup Guides by Step
- ① Phone & SIM — Which SIM types actually pass verification
- ② Phone Verification — Why services keep rejecting your number
- ③ Address Registration — What the counter staff actually checks
- ④ ARC & Online Verification — What still fails after ARC approval
- ⑤ Bank Account — What usually stalls the process at the counter
- ⑥ Payments & Cards — Why foreign cards fail and where they clear
- ⑦ Apps (KakaoTalk, PASS) — The actual unlock path by SIM type
Questions That Come Up Most
Can I open a Korean bank account without an ARC?
Some banks open a limited account (제한 계좌) with just a passport and visa — but the restrictions are significant. International transfers, some payment platforms, and payroll deposits may not work on a restricted account. Address registration before the bank visit consistently produces better results. The bank account guide maps which banks and account types are accessible at each stage of your setup.
Does address registration require ARC first?
No — and this is the most commonly misunderstood dependency. Address registration (전입신고) at the community center (주민센터) can be done before your ARC is issued, using your passport and housing documentation. Getting this done early actually makes both the ARC appointment and the bank visit go smoother.
Why do my apps keep failing verification in the first 3 days?
In the first 3 days Korea foreigners deal with, app verification failures almost always trace back to the SIM type. Tourist SIMs from Incheon Airport won’t pass real-name verification (본인인증) on KakaoTalk, PASS, or banking apps. The app loops back to the verification screen without explaining why. The fix isn’t in the app settings — it’s in upgrading your phone number to a type that clears Korean telecom identity checks. See the phone verification guide for the specific unlock path.
Before You Land — What to Have Ready
Each unchecked item below is a potential block somewhere in the first 3 days Korea foreigners go through. Confirming these before your flight saves at least one wasted visit.
- ☐ Visa type confirmed and ARC eligibility checked
- ☐ Housing address confirmed with documentation available (lease, goshiwon receipt, or host letter)
- ☐ Nearest community center (주민센터) location and operating hours checked
- ☐ Bank branch confirmed as foreigner-accessible with your document set
- ☐ ARC appointment booked at Hi Korea (if long-term stay)
- ☐ Phone plan decision made: tourist SIM for short stay vs resident contract for long stay
- ☐ T-money card pickup planned for airport arrival
- ☐ Korean won cash prepared (₩100,000–200,000 for first 2–3 days)
Where to Go From Here
The dependency chain runs in one direction: entry status → phone → address → ARC → bank → apps. Each link has its own failure mode, and the guides linked throughout this article cover each one in detail. Understanding how the first 3 days Korea foreigners navigate connect to this chain is the difference between a smooth start and a frustrating loop.
If your setup is already partially done and something is stuck, the most useful first step is identifying which layer in the chain is incomplete. Forcing the blocked service from the front end doesn’t work — stepping back one layer usually does.
The first 3 days Korea foreigners spend setting up don’t need to be stressful. They just need to be in the right order.
Official Sources
- • Hi Korea (Immigration Appointments & ARC): hikorea.go.kr
- • Korea Immigration Service: immigration.go.kr
Last Updated: April 2026